Commercial Plastering: High-Quality Solutions for Workplace and Retail Spaces
Commercial Plastering: High-Quality Solutions for Workplace and Retail Spaces
Blog Article
A Comprehensive Overview to Mastering Plastering Skills for Your Remodelling Requirements
Vital Tools and Materials
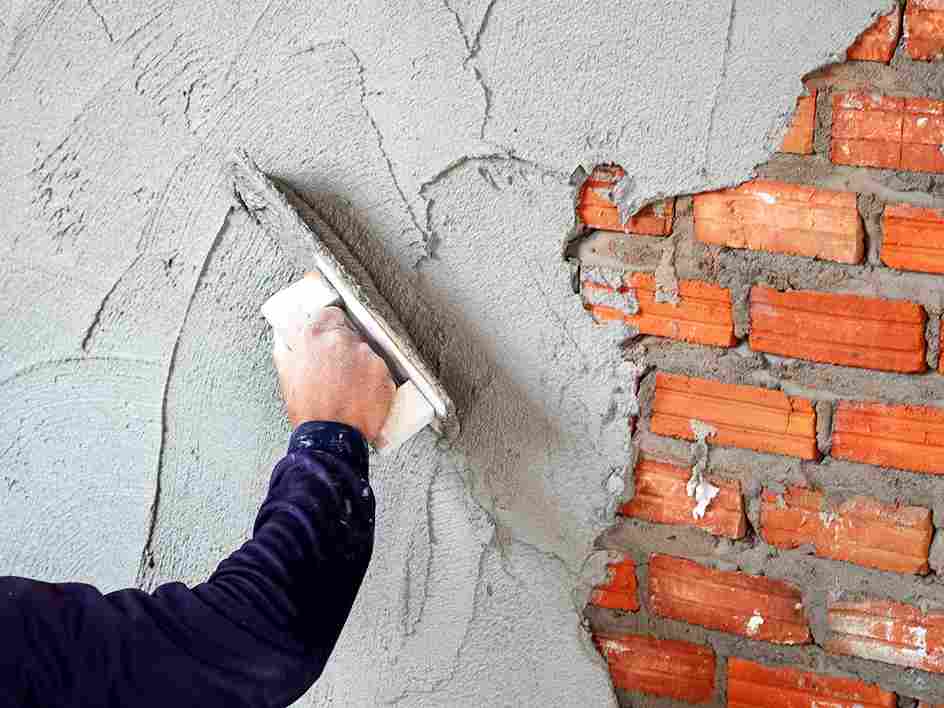
In the world of plastering, having the right devices and materials is extremely important to achieving a remarkable finish. Different necessary tools serve unique objectives, making sure efficiency and accuracy throughout the plastering process. A top notch trowel, for example, is crucial for smoothing and using plaster, while a hawk gives a secure platform for holding the product. A joint knife is likewise crucial for comprehensive work, especially in edges and edges.
Along with devices, choosing the ideal plastering products is crucial. Gypsum-based plasters are generally chosen for their versatility and simplicity of use, while cement-based alternatives are ideal for exterior applications as a result of their toughness. Water and bonding representatives play considerable roles in accomplishing appropriate uniformity and adhesion, making certain that the plaster sticks properly to the surface.
Furthermore, protective gear such as handwear covers, safety glasses, and masks is necessary to safeguard against dust and irritation during the application procedure. By putting together the ideal mix of tools and products, plasterers can enhance their ability and create top notch finishes, ultimately boosting the total craftsmanship of their work.
Preparing Surface Areas for Gluing
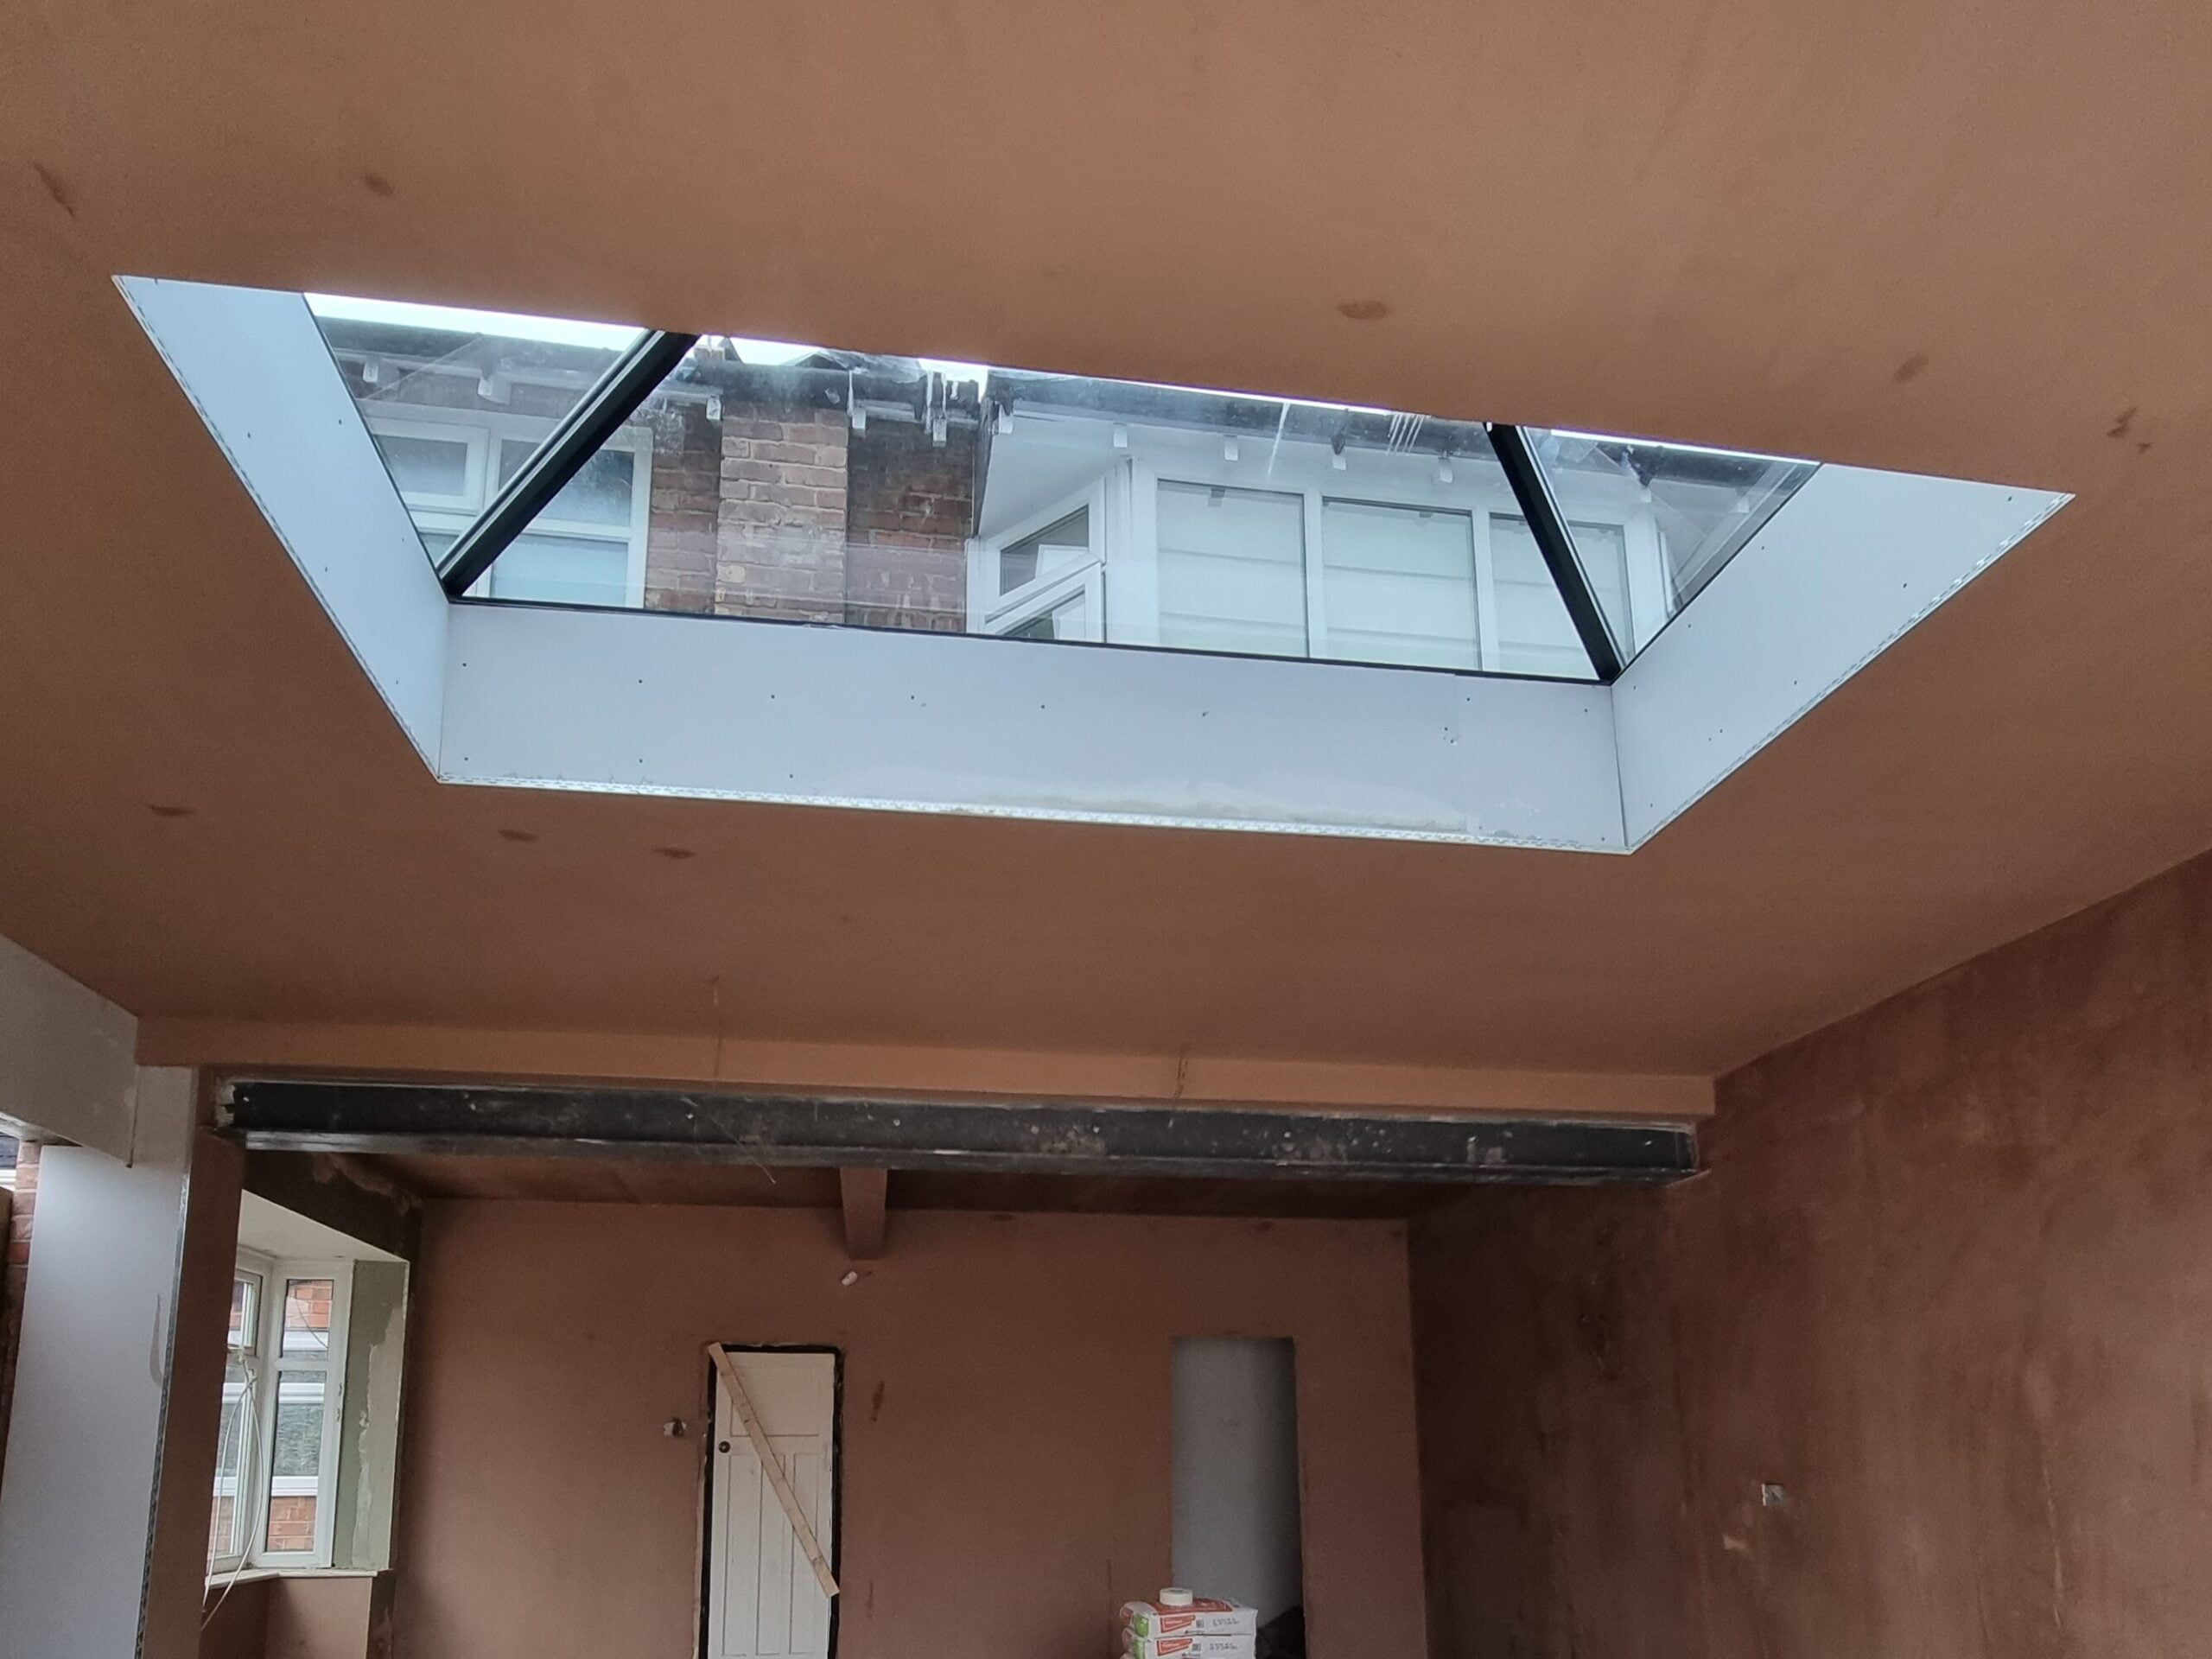
Accomplishing a smooth and long lasting plaster surface begins with thorough prep work of the surface areas to be glued. This foundational action is vital to ensuring adhesion and the durability of the plaster. Beginning by examining the condition of the substratum-- whether it is drywall, masonry, or concrete-- getting rid of any type of loosened paint, dust, or particles that might disrupt bonding.
Following, fix any blemishes such as fractures or holes. Utilize an ideal filler to achieve a degree surface; this can be critical for stopping future concerns. When repaired, make sure the surface area is tidy and completely dry, as moisture can endanger plaster adherence.
For porous surface areas, it is suggested to use a bonding agent. This item boosts attachment and develops a trusted interface in between the plaster and substratum. If working with formerly plastered surface areas, it might be necessary to scuff or sand the location gently to provide a trick for the new plaster layer.
Gluing Techniques and Tips
Understanding gluing techniques calls for both skill and practice to achieve a remarkable coating. One essential method is the application of the plaster in multiple thin layers, instead of a solitary thick coat. This method enables for better bond and decreases the risk of cracking. Start with a base layer, ensuring it is uniformly spread out and leveled with a hawk and trowel. Use a straightedge to look for any type of imperfections before going on to subsequent layers.
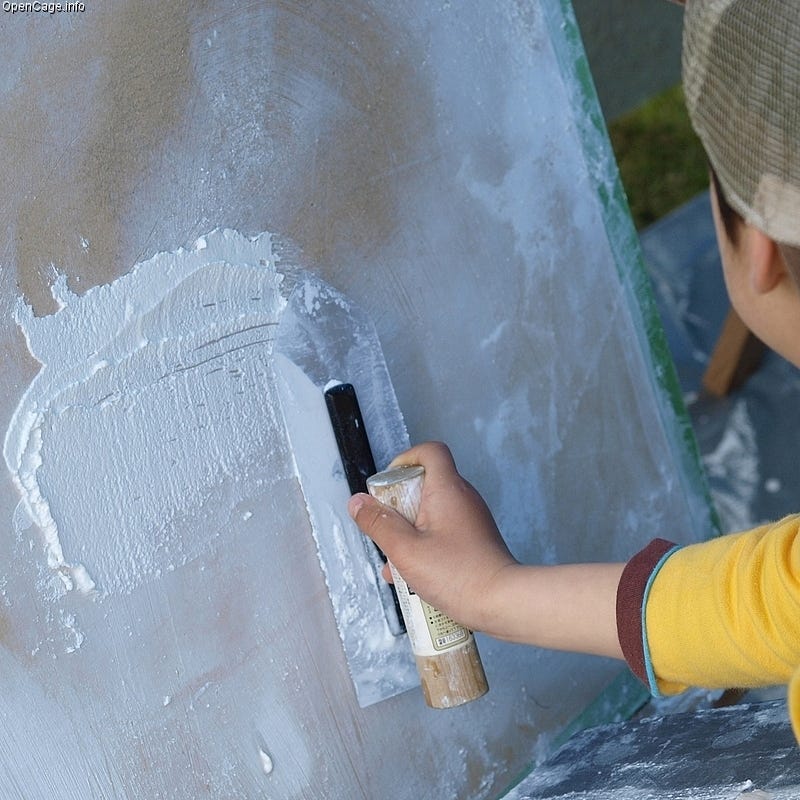
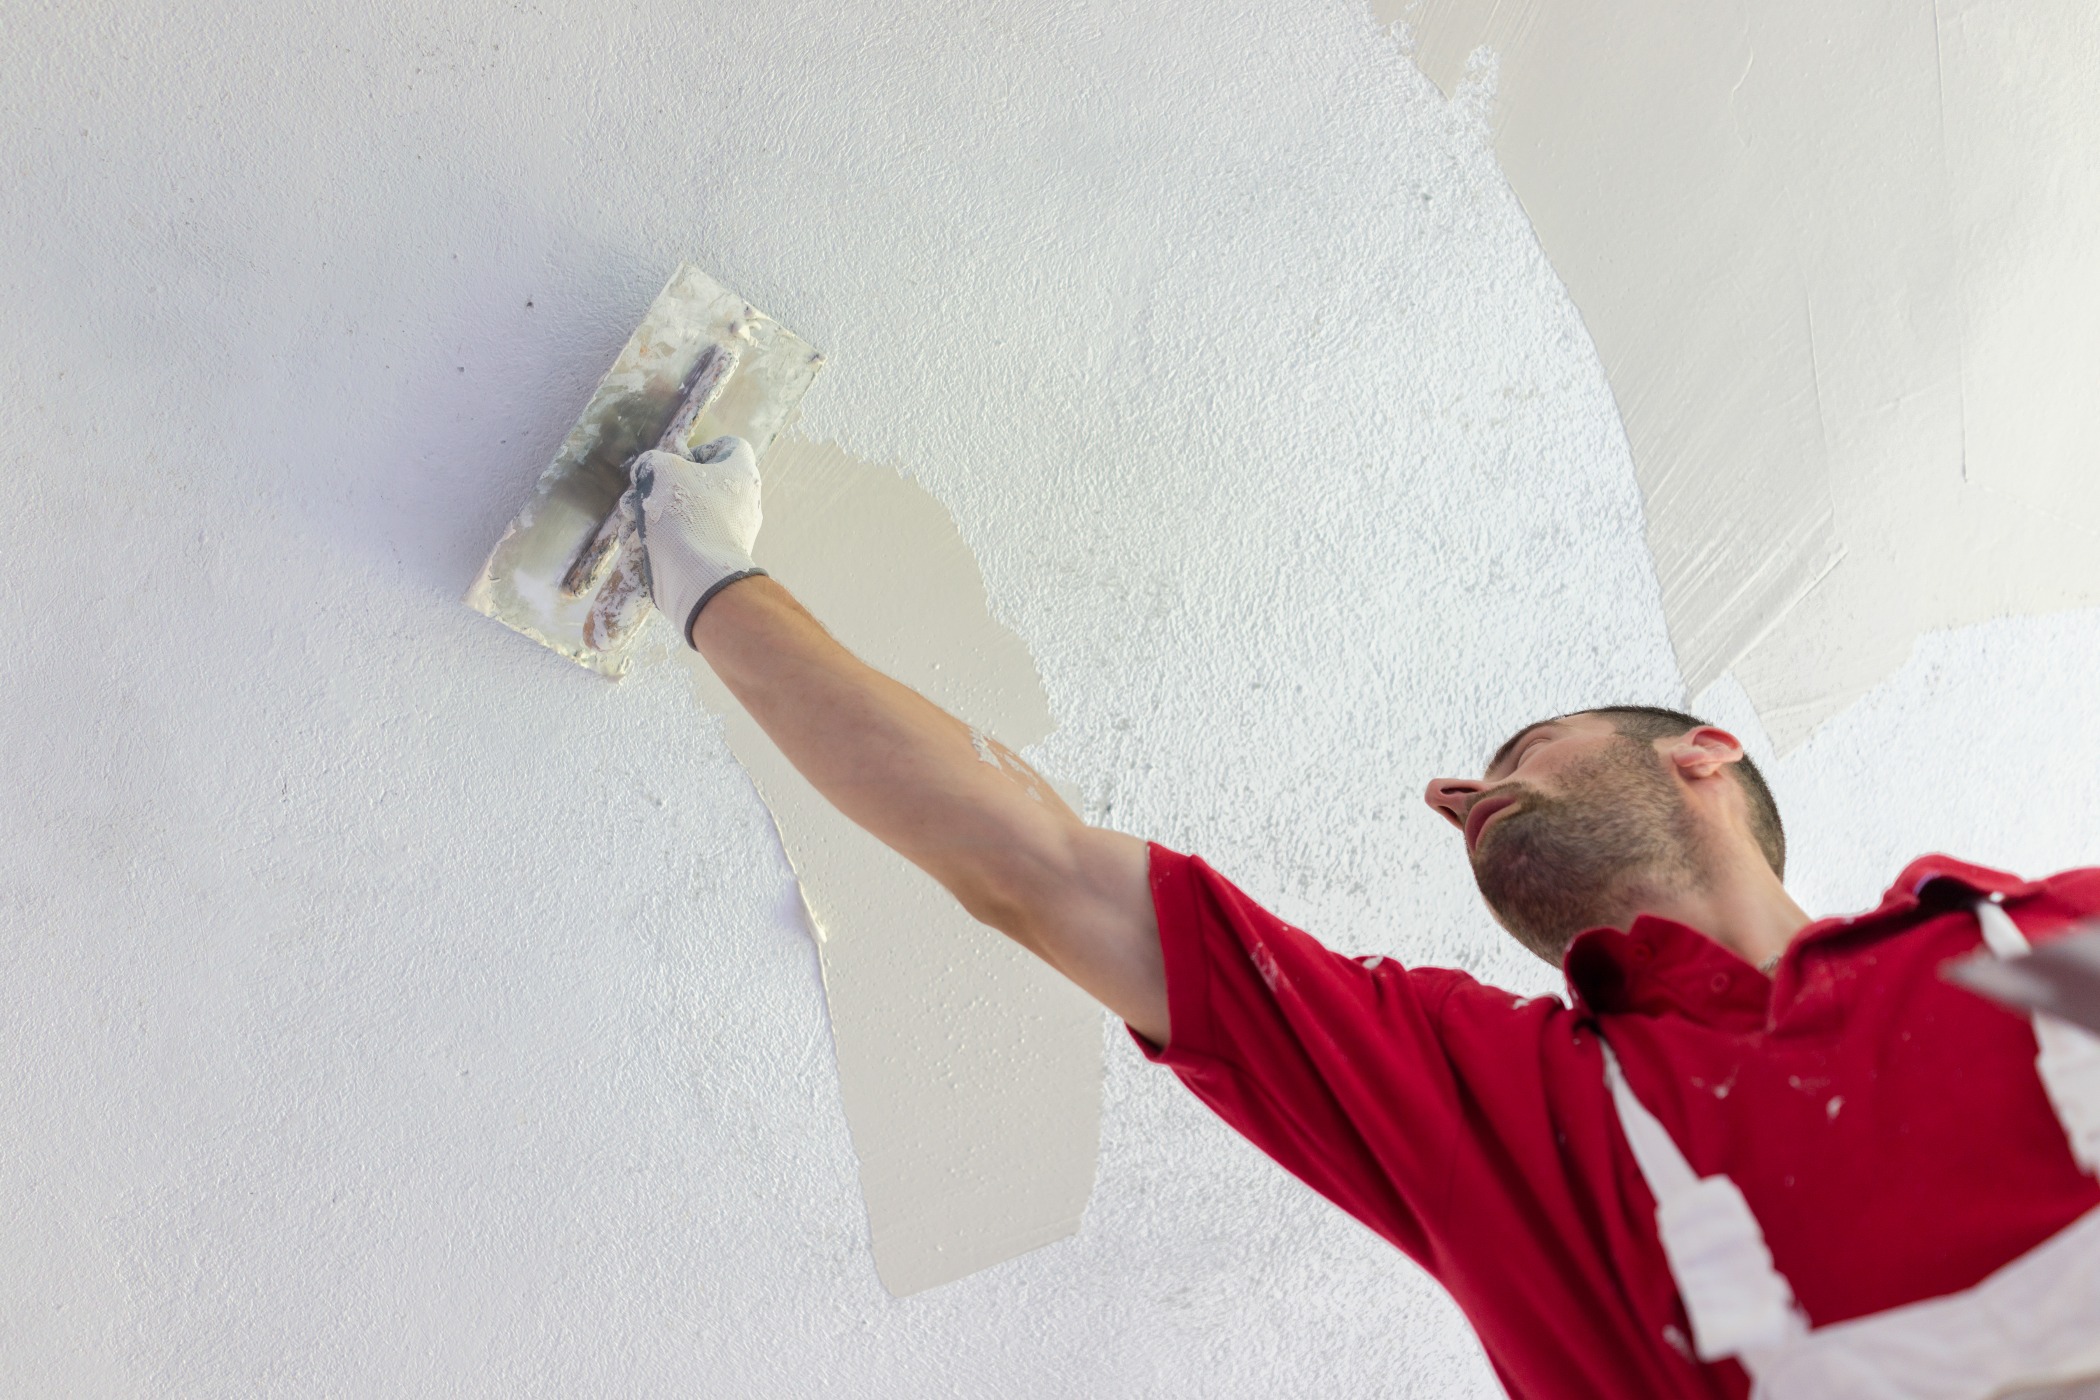
When using the coating coat, use a shoveling technique that includes holding the trowel at a small angle and functioning in a round motion. This helps to produce a smooth surface area and reduces the appearance of trowel marks. Furthermore, maintain a spray bottle of water convenient to haze the surface lightly; this maintains the plaster practical and permits smoother finishing.
Timing is crucial; job successfully, as the plaster begins to establish. When the plaster has actually tightened yet is still wet, make use of a damp sponge to carefully smooth the surface better. Last but not least, allow ample drying out time before sanding or useful content painting, guaranteeing your effort leads to a specialist, high-grade coating.
Typical Mistakes to Avoid
One more common error is using plaster as well heavily. Overzealous applications can bring about splitting and prolonged drying out times. It's crucial to apply plaster in thin, even layers, allowing each layer to completely dry sufficiently before adding much more.
Furthermore, not using the right devices can hinder the top quality of the finish. Using unacceptable trowels or mixers can create variances in the smudging procedure. Constantly select high-quality devices created for gluing tasks.
Finally, numerous individuals undervalue the relevance of timing. Operating in unsuitable temperature levels or humidity levels can detrimentally impact plaster healing and drying. It is recommended to check climate conditions and adjust your schedule appropriately.
Finishing Touches for a Specialist Appearance
The last phases of a plastering project are critical for achieving a refined, expert appearance. When the plaster has dried out adequately, the following action is to analyze the surface for blemishes. Minor bumps, holes, or unequal areas must be attended to using great sandpaper or a fining blog here sand block. This precise attention to information is vital for making sure a smooth surface.
After sanding, it's advisable to clean up the surface area to get rid of any type of dirt and particles. A wet cloth is reliable for this objective, followed by a thorough drying period. If needed, applying a slim layer of ending up plaster can improve the surface area even more, offering a seamless coating.
As soon as the ending up plaster is completely dry, an additional round of fining sand click to read more might be needed to accomplish the wanted level of smoothness. Ultimately, consider applying a guide before painting or wallpapering, which will certainly improve adhesion and toughness.
Verdict
Grasping smudging abilities substantially improves the high quality of restoration projects. A complete understanding of necessary devices, surface area preparation, and effective strategies is critical for achieving specialist outcomes.
Water and bonding agents play substantial roles in achieving correct uniformity and bond, ensuring that the plaster adheres efficiently to the surface area. Plastering.
Additionally, keep a spray container of water handy to haze the surface gently; this keeps the plaster convenient and enables for smoother ending up. (Plastering)
If essential, applying a slim layer of ending up plaster can boost the surface even more, providing a smooth surface.
Report this page